Introduction
Hello everyone, and welcome back to my blog. In this crash course we will be looking at one of the more popular and well known containerization technologies on the market, Docker. Now, this is going to be a longer, in-depth posts, so if that isn’t your thing, you might want checkout my Docker CLI Cheatsheet. However, if you like to get a better understanding of Docker and how it works, then you came to the right place. All this posts assumes is that you have docker installed on your PC. With that said, let’s begin.
What is Docker?
Docker is a tool for running applications in isolated environments, otherwise known as a container.
Now if you have been in tech for awhile, you might be thinking, Wait, isn’t that just a VM? and in any other circumstance you would be correct. However, Docker and other containers are different from VMs as they:
- Run containers in seconds instead of minutes
- Have less resources, resulting in less disk space usage
- Use less memory
- And, do not need the overhead of a full OS
This means that spinning up a docker container is extremely quick as it doesn’t load anything that is not needed. Another added benefit of docker is that since the application runs in the same environment, it will work on any machine that can run docker. If the application runs on your Mac or Windows PC it will run on your Linux server just the same. It is because of this that docker and other containerization technologies are gaining wide spread support in businesses across the board.
Containers vs. Virtual Machines
To go a bit deeper, lets examine containers and virtual machines a little bit more. Let’s begin by defining what a container is and what a virtual machine is.
Containers are an abstraction at the app layer that packages code and dependencies together. Multiple containers can run on the same machine and share the OS kernel with other containers, each running as isolated processes in user space.
Virtual machines (VMs) are an abstraction of physical hardware turning one server into many servers. The hypervisor allows multiple VMs to run on a single machine. Each VM includes a full copy of an operating system, the application, necessary binaries and libraries - taking up tens of GBs. VMs can also be slow to boot.
To make that a little bit easier to understand, lets look at Figure 1

Here you can see perfectly why containers are such a useful application in comparison to VMs. On the left-hand side, you see a system for containerized applications. The only overhead of that system is docker. On the right-hand side, you see a system for VMs. That system’s overhead is not only the hypervisor, but also each VMs’ Guest OS. As defined prior, this can be extremely wasteful in terms of system resources as each VM contains possibly unneeded items. The way docker solved this was by running applications in pre-built abstractions known as images.
Getting Our Hands Dirty
Now that we have some basic information down, lets start actually using docker. To start, lets mess with some images, specifically in this case the nginx image.
Docker Images
An image is a template for creating a sandboxed environment for solely running your application
To see an image in action, run this command:
docker pull nginx && docker run -d -p 8080:80 nginx:latest
Then, you go to localhost:8080 in your browser, you will see this:
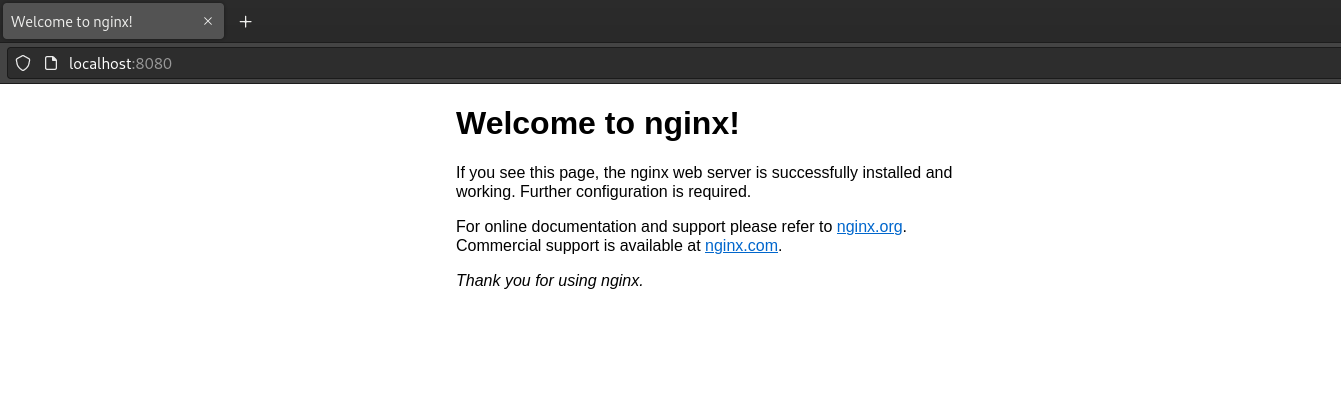
If you were curious and looked at my Docker Cheatsheet, then you would know that the first docker command pulls the nginx image from DockerHub. The second command runs the latest version of a nginx container in the background and points port 80 FROM the nginx container TO port 8080 on your machine.
You can check the installed images by running
docker images
Output:
REPOSITORY        TAG                  IMAGE ID       CREATED        SIZE
nginx             latest               b692a91e4e15   6 days ago     142MB
Docker Process and Format
Next, copy this alias into your bashrc if you run bash or your zshrc for zsh:
alias dps='docker ps --format="ID\t{{.ID}}\nNAME\t{{.Names}}\nIMAGE\t{{.Image}}\nPORTS\t{{.Ports}}\nCOMMAND\t{{.Command}}\nCREATED\t{{.CreatedAt}}\nSTATUS\t{{.Status}}\n"'
What this does is format the output of the docker ps command so that its more readable. Go ahead and run these commands in your terminal to see the
difference.
docker ps
dps
Output:
CONTAINER ID   IMAGE          COMMAND                  CREATED       STATUS         PORTS                                   NAMES
0cf13de873ae   nginx:latest   "/docker-entrypoint.…"   2 hours ago   Up 9 seconds   0.0.0.0:8080->80/tcp, :::8080->80/tcp   thirsty_montalcini
---
ID	0cf13de873ae
NAME	thirsty_montalcini
IMAGE	nginx:latest
PORTS	0.0.0.0:8080->80/tcp, :::8080->80/tcp
COMMAND	"/docker-entrypoint.…"
CREATED	2022-08-08 15:11:45 -0500 CDT
STATUS	Up 20 seconds
Docker Names
As you can see from either of the previous commands, our container can be identified from either its ID or its name. This is very useful for starting or stopping that container or even checking its logs. However, its name is kind of hard to remember as its randomly generated. We can thankfully create an easier to remember name for our containers. To do this, first lets stop the current running container.
docker stop thirsty_montalcini
Next, lets create a new container with a name of mysite:
docker run --name mysite -d -p 8080:80 nginx:latest
Finally, run dps to check the name
dps
---
ID	9436589ac4c4
NAME	mysite
IMAGE	nginx:latest
PORTS	0.0.0.0:8080->80/tcp, :::8080->80/tcp
COMMAND	"/docker-entrypoint.…"
CREATED	2022-08-08 17:48:09 -0500 CDT
STATUS	Up 2 seconds
Docker Ports
Even though we brushed over ports with docker, lets go over some commands that include it. To recap, the -p flag of the docker run command
requires a “destination” port and an “source” port in the form of DESTINATION:SOURCE. You can also use more than one port in a container. To
test this lets run nginx on port 3000 and 4000:
docker run --name multiport -d -p 3000:80 -p 4000:80 nginx:latest
Next, run dps to check the ports on the container.
ID	31875b1e2d0f
NAME	multiport
IMAGE	nginx:latest
PORTS	0.0.0.0:3000->80/tcp, 0.0.0.0:4000->80/tcp, :::3000->80/tcp, :::4000->80/tcp
COMMAND	"/docker-entrypoint.…"
CREATED	2022-08-08 21:32:38 -0500 CDT
STATUS	Up 4 seconds
Finally, check localhost:3000 and localhost:4000 in your browser. You should see the nginx welcome page on both tabs
Docker Management
There are a few commands that make managing docker images and containers easier such as how to remove containers, how to get an interactive terminal, and how to list containers.
Listing containers
docker container ls
Interactive Terminal
docker exec -it multiport sh
Remove a Container
docker rm multiport
Remove a Running Container
docker rm -f multiport
Docker Volumes
With Docker Volumes, you can share files and folders from your host machine or docker container to another docker container.
Between host and container
docker run --name website -v $(pwd):/usr/share/nginx/html:ro -d -p 8080:80 nginx
In this command, the -v flag is used to take the files and folders from the current directory and place them inside the nginx
docker container at /usr/share/nginx/html in a read-only or ro state.
Between container and container
docker run --name website-copy --volumes-from website -d -p 8081:80 nginx
In this command, the --volumes-from flag mounts volumes from the specified container, in this case website, to the docker the called it,
i.e. website-copy.
Advanced Docker
Now that we’ve gotten past the basics of Docker, lets move on to the more advanced subject of image creation. This will include information about:
- Dockerfiles or how to write your own images
- Caching and Layering, how writing your Dockerfile a certain way can effect your image
- Alpine Linux, a way to slim down your image to an extremely small size
Dockerfile
With a Dockerfile you can create your own template, defining how you would like your environment to be setup exactly for you application to run. A Dockerfile can also be used as a snapshot tool, so if an error is made with a newly create image, you could roll back to the previous version with little issue. Please note that this post is not all encompassing and will not show every command you can use in a Dockerfile. For that I recommend that you check out the Dockerfile Reference.
To get started, lets create a directory and add a basic html template file inside.
mkdir dockerfile-test
cd dockerfile-test
touch index.html
index.html
<!DOCTYPE html>
<html>
<head>
<title>Page Title</title>
</head>
<body>

<h1>This is a Heading</h1>
<p>This is a paragraph.</p>

</body>
</html>
Next, lets create a Dockerfile. With your favorite text editor add this information inside of it and save it as Dockerfile. Make sure there are
no file extensions at the end.
Dockerfile
FROM nginx:alpine
ADD . /usr/share/nginx/html
To break this down, Dockerfiles are written with an instruction which are in all caps and a value which are lower-cased for the most part. In this
Dockerfile the FROM instruction states what docker image (i.e. nginx) and tag (alpine) to use when building the template. The next line uses
the ADD instruction to add the files from the current working directory to the /usr/share/nginx/html directory inside the template.
To turn this Dockerfile into a docker image, you need to build it. You do so by running:
docker build -t myimage:alpine .
This will build the image myimage and tag it as alpine.
If by any chance there are files or folders that you do not want inside the template, simply create a .dockerignore file in the same directory
and add the names of the files and folder you do not want copied. For example, lets say you initialize a git repo inside of the dockerfile-test directory.
You probably don’t want a copy of the .git directory or .gitignore file inside of your image. Simply create the .dockerignore file and add:
.dockerignore
.git
.gitignore
Docker Caching/Layering
Docker Caching is the process of storing information so that it can be reused for future events.
Docker Layering is the technique of using cache to create small, fast docker images
For example, lets say you are building a nodeJS project and need to build an image. You write your Dockerfile as so:
FROM node:latest
WORKDIR /app
ADD . .
RUN npm install
CMD node index.js
However, since you have a lot of dependencies, your container takes a long time to build. This is because this Dockerfile is not fully taking advantage of caching. On line 4 of the Dockerfile, the image has to always re-download all of the dependencies your application would need to run. This is very inefficient and time consuming.
To change this, you should know where node stores information regarding dependencies, in
this case any of the package.json files. Let’s go ahead and add those lines above the ADD instruction:
FROM node:latest
WORKDIR /app
ADD package*.json ./
RUN npm install
ADD . .
CMD node index.js
Now rerun the build command:
docker build .
You should see an increase in speed the next time you build your image!
Alpine Linux
Docker images based off of Alpine Linux are usually much smaller in size compared to their vanilla counterparts. To get Alpine as your docker image, first you have to see if the alpine tag is supported under your specific docker image. Take for example nginx. If you search nginx on hub.docker.com you will see under the nginx image page a bunch of tags related to different nginx versions as well as Linux distros. Look for a tag with alpine in the name. To download it onto your local machine run:
docker pull nginx:[tag you want to use]
For me, I just usually go with the simple alpine tag.
docker pull nginx:alpine
Now compare the image sizes by running
docker images
Wrapping it up
Wow, that was a lot of data in one post. You went from just starting and stopping an image to building a fully functioning Dockerfile and image
of your own. Congrats 🎉!! Now go outside and touch some grass, I know I need too 😄. If you like this style of content, please feel free to look at
other posts in the Explained category.